Notes
Intro
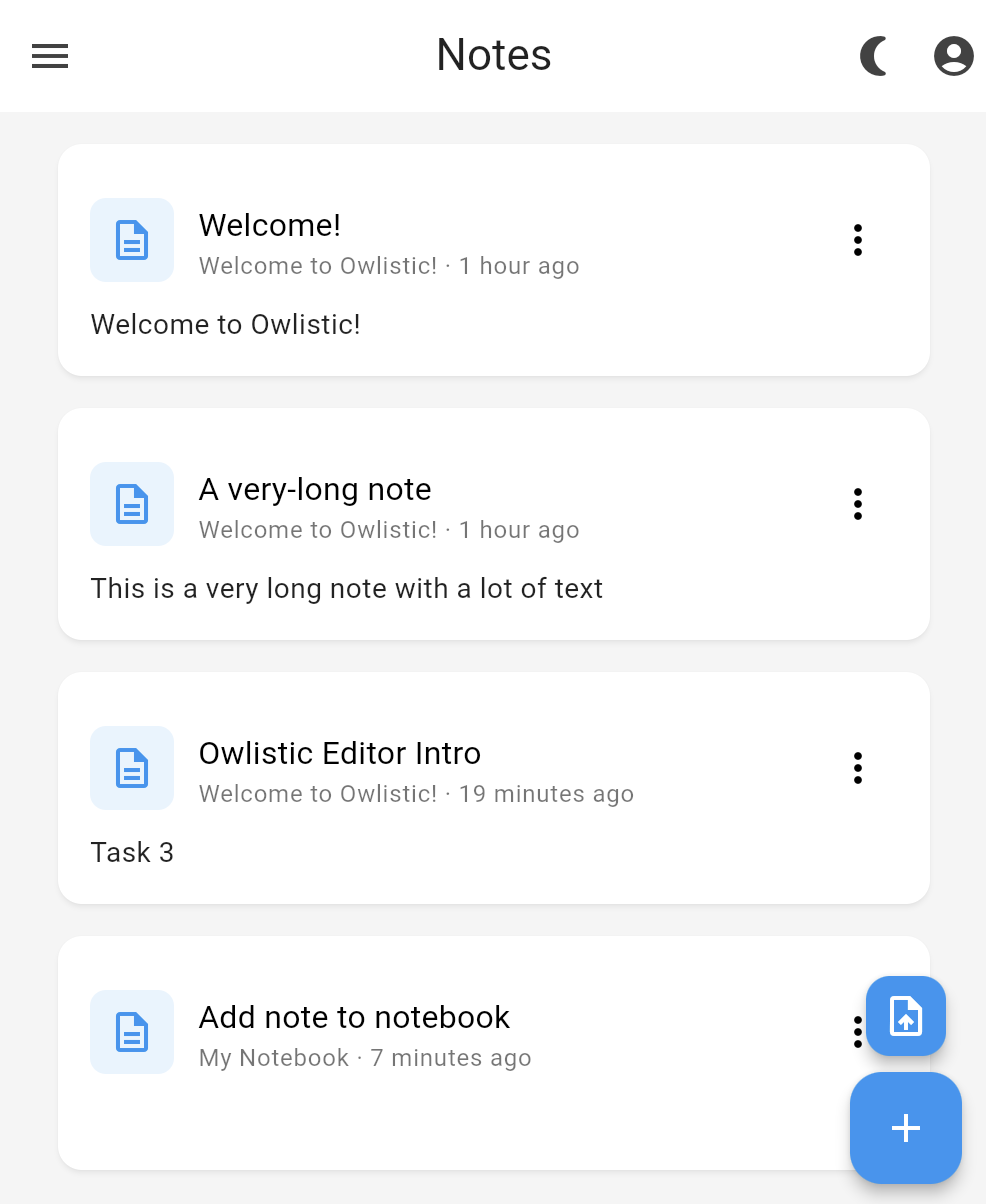
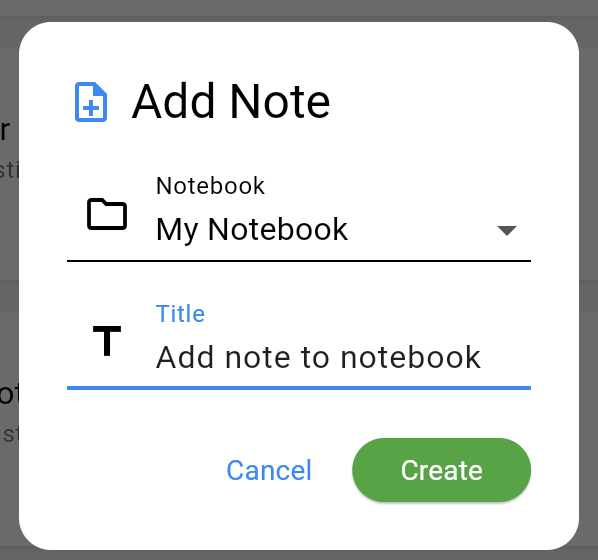
Creating notes in Owlistic is a straightforward process.
Creating notes
To create a new notebook, press . You can then enter a title for your notebook and save it.
Importing notes from Markdown files
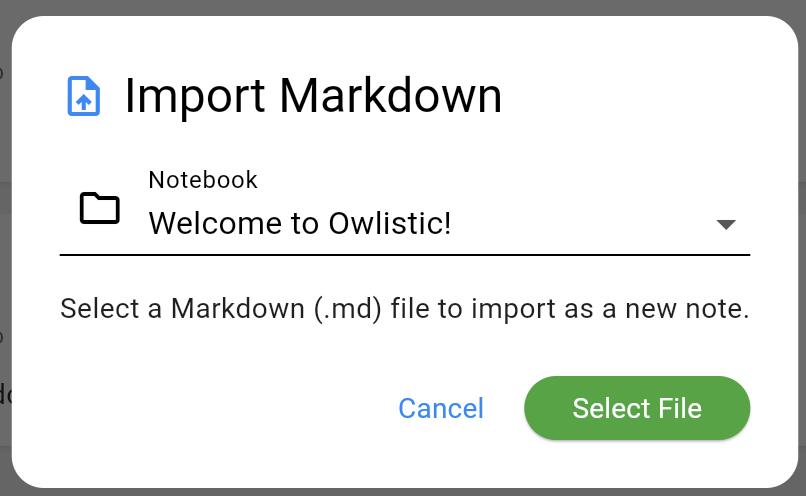
Owlistic also supports importing notes from existing Markdown (.md) files. To import a note, use the .
After pressing the "Import" button, you will be prompted to select the Markdown file you want to import. Once selected, the note will be created in Owlistic with its title and content.
Editing notes

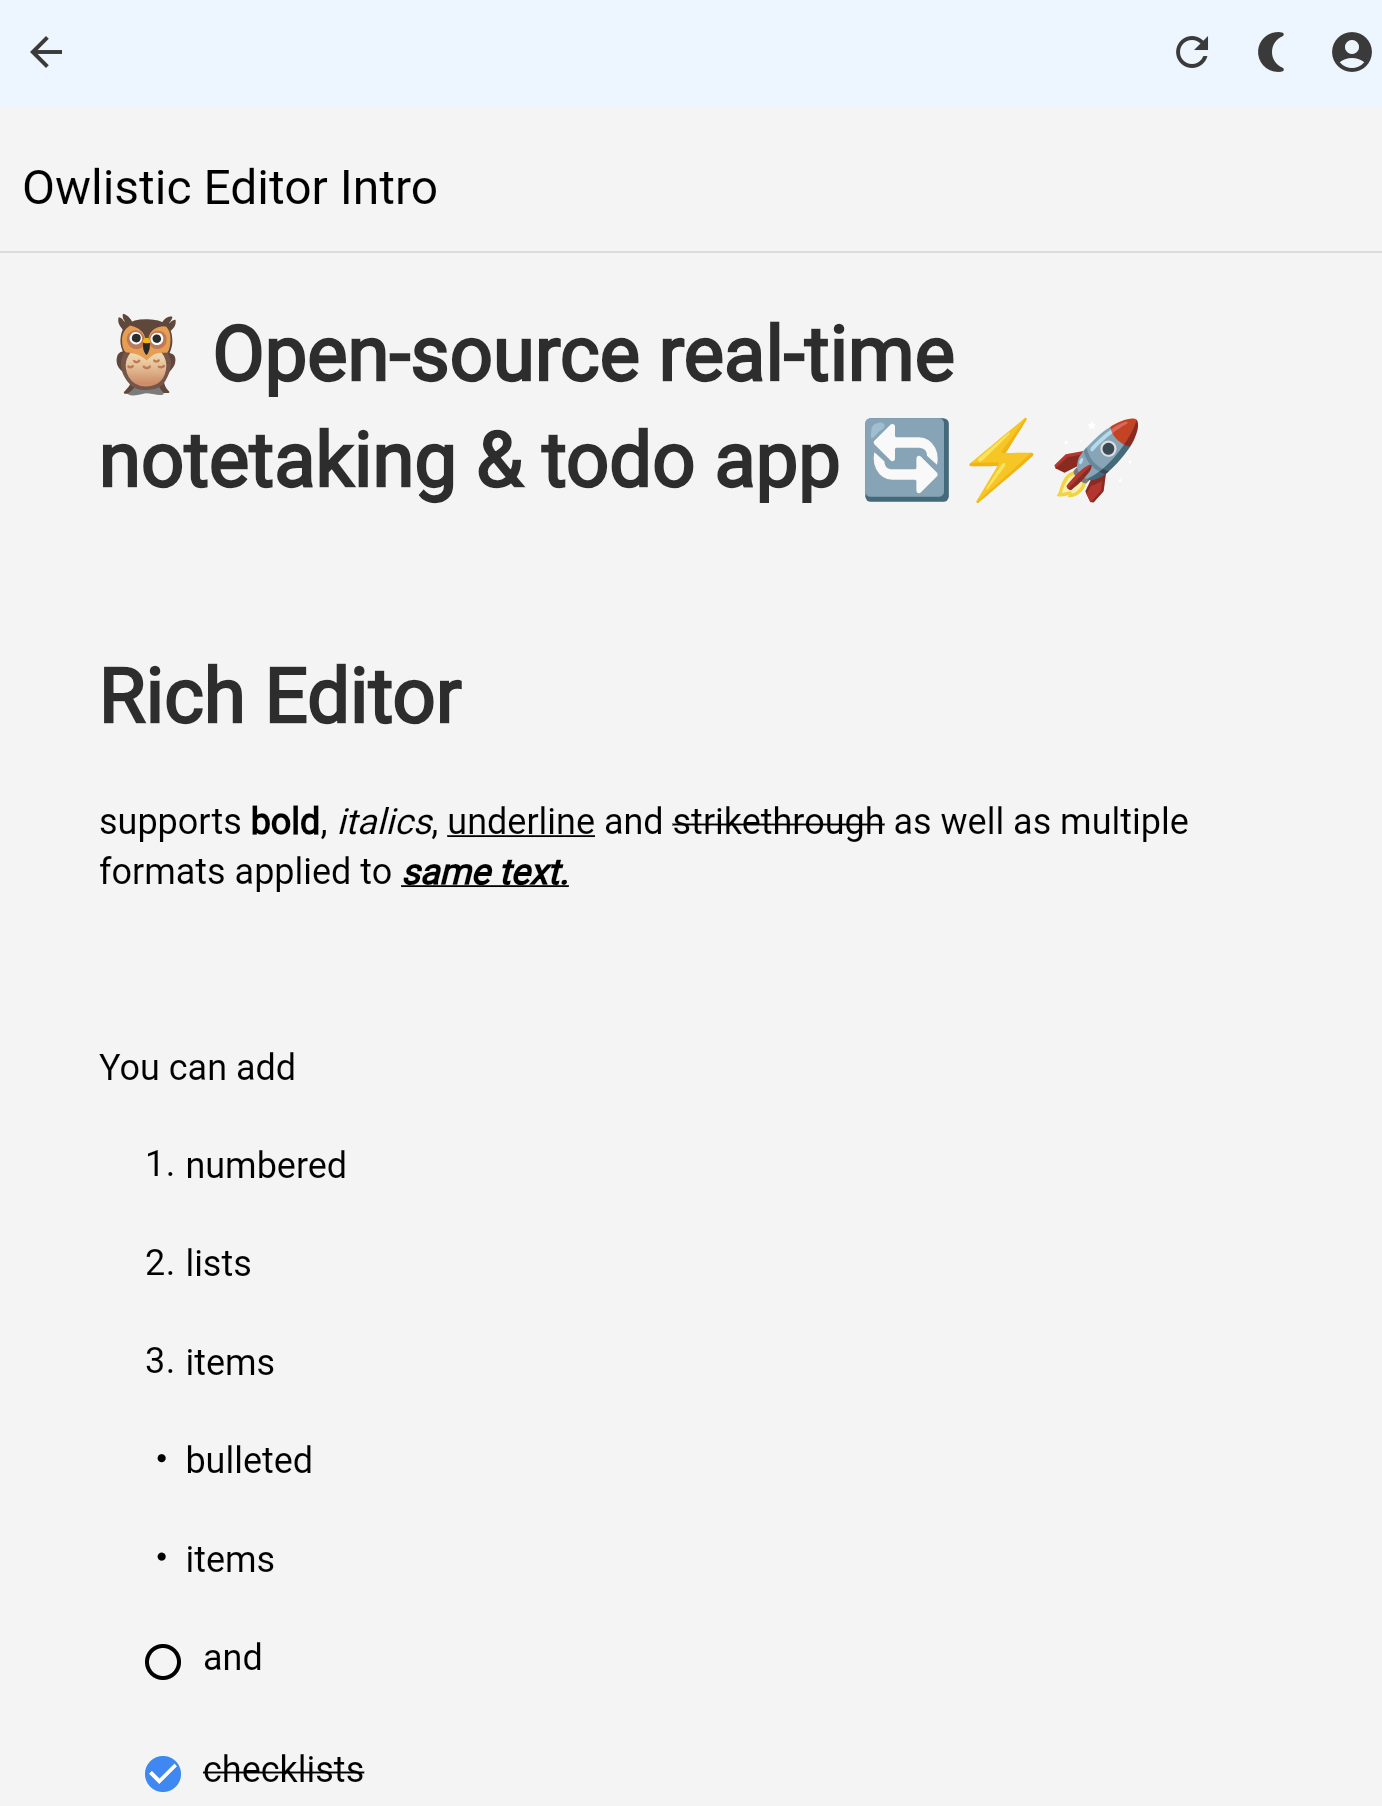
Once you created your note you can press on it to open the note editor and start typing your content. The editor supports Markdown, allowing you to format your text easily.
Moving notes to notebooks
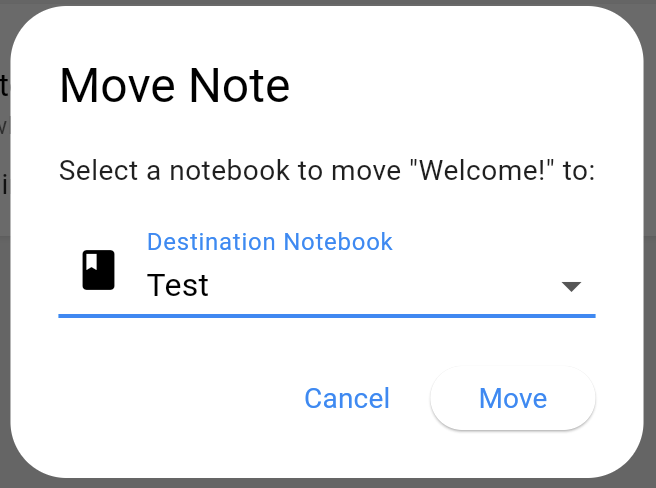
Once you have created a note, you can move it to another notebook by tapping
